
Technical Support
Running Your Craft Ice Maker

Insert Installation
Inserts are essential for creating perfectly clear ice. If they aren’t installed correctly, you may notice cloudiness in your cubes. To get the best results:
- Always install the inserts—skipping them can lead to cloudy ice.
- Make sure they’re fully seated in place.
- Check for and remove any air bubbles underneath.
👉 Watch the video for a step-by-step guide to proper installation.

Tray & Insert Cleaning
For the best results, clean your Klaris trays and inserts before the first use and every 5–10 runs thereafter. Build-up on the surfaces can cause cloudy ice.
- Hand wash only — do not put in the dishwasher.
- Rinse and dry thoroughly before reuse.
👉 Watch the video for a step-by-step cleaning guide.
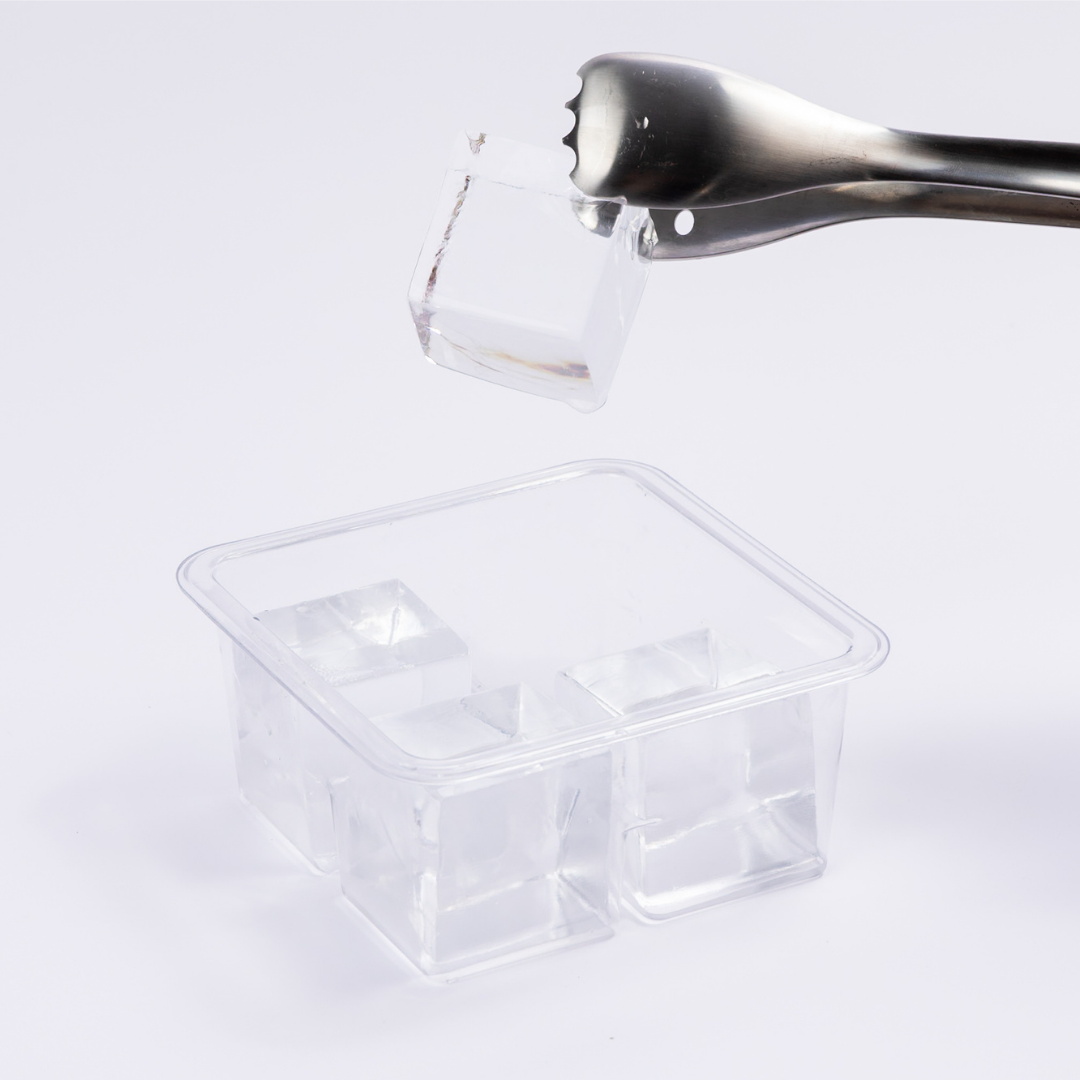
Storing Craft Ice
Keep your Klaris cubes pristine and ready to use.
- After freezer storage, let cubes rest at room temperature for 2–3 minutes to prevent cracking.
- A light frost on the outside is normal and clears once liquid is poured.
- For best results, dry cubes before freezing to reduce frost and store them separately to avoid sticking.
👉 Learn more about about storage options and tempering your ice, or explore Klaris Storage Containers.